Resin jewelry can often be purchased at boutiques and stores but did you know that you can make it from the comfort of your home.
It will require patience and practice on your behalf but will provide you with the perfect opportunity to express your creativity by experimenting with a range of designs.
Thanks to the versatility of resin, it can be used to create a range of accessories including necklace pendants, bracelets, and rings.
The clear surface of this material can be decorated with embedded elements, stones, pearls, flowers, glitter, or flakes.
Below, we have created a guide that details each step involved in making your own resin jewelry.
The best resin for jewelry
When it comes to jewelry resin, there are 3 different types available; UV resin, epoxy resin, and polyester resin.
They are all readily available from the majority of craft stores, though there are differences between each type. When using epoxy or polyester resin, it is important to follow the mixing ratio requirements.
The most prominent difference between polyester and epoxy resin is their appearance and the time that they take to cure. Whilst polyester resin dries fairly quickly, epoxy resin takes a little longer.
The crystal clear surface of epoxy resin makes it a popular choice in jewelry making. Some DIY enthusiasts may prefer to use UV resin. A UV lamp will cure this resin within a matter of minutes.
The layers of this resin tend to be pretty thin, however, this shouldn’t be hugely problematic when making jewelry because most pieces tend to be on the smaller side.
How To Make Resin Jewelry
Assemble your supplies and prepare your workspace
To begin, you will need to assemble your supplies and prepare your workspace so that you are ready to start making your pieces.
Resin splashes can be hard to remove so it is advised that you cover your workspace so that this isn’t an issue. It is also important to protect yourself whilst you are using resin.
You should wear gloves and make sure that the area that you are working in is well-ventilated.
Gather any embellishments that you want to add to your pieces, ensuring that they are going to fit into the molds that you are going to be using.
If the embellishments are fabric, ideally, you should add a sealant as this will prevent any discoloration from occurring.
Selecting a mold for the piece that you want to create
Next, you will need to select a mold that is suitable for use with resin. Molds are available in different shapes and sizes, so you have flexibility when it comes to designing your jewelry.
Adding some mold release to the molds is recommended as it will make the resin easier to remove once it has been cured.
Prepare the resin
You will need to prepare the resin so that it is ready to use. As we have mentioned previously, there are 3 different types of resin available. Depending on the type that you opt for you will require a catalyst agent.
Place the resin that you are going to be using inside a bowl of hot water and allow them to soak. Then you will need to make your mixture.
Assess the size of your molds and evaluate how much resin you will likely need for the number of pieces that you want to make. If you are going to be using color, you can add this now or after mixing.
Pour the resin into the molds
After you have mixed the resin, you will need to pour it into the mold until the base is covered. Using a hairdryer or other heat source that you have to hand, try and get rid of any visible air bubbles as they can affect the final look of your pieces.
Add your embellishments and another layer of resin
Allow approximately 15 minutes to pass before adding your embellishments, particularly those that are a little weighty. Should your embellishments move out of place you will need to gently move them back into place.
Then add the rest of the resin to the molds, until your embellishments are covered.
Give the resin time to cure
The resin now needs time to cure. The time that this takes can differ depending on the type of resin that you have used. The manufacturer will state the recommended curing time on the packaging of the product.
During the curing process, it is important to keep the molds covered, otherwise, there is a risk of dust particles landing on the molds and affecting the final outcome.
Remove the resin from the mold
You will need to remove the resin from the mold before it has had time to cure fully. If the resin feels a little soft do not try to remove it anyway. Instead, keep it inside the mold until it hardens a little more.
The edges of the resin may be a little sharp, so you must be cautious when removing your pieces to avoid possible injury.
Smooth over rough edges
If the edges of your resin are a little rough, you will need to smoothen them. This can easily be done using some fine grain sandpaper.
Finish the resin using a lacquer
Depending on the type of mold that you have used, you may find that the resin isn’t as shiny as you would like it to be. To achieve a shinier finish, you may need to add some polishing paste to the surface.
Rub this in using a soft cloth and you will likely notice that the resin looks much shinier than it did previously. Alternatively, you can get polished silicone molds that have a smooth surface which is reflected in the finish of your resin pieces.
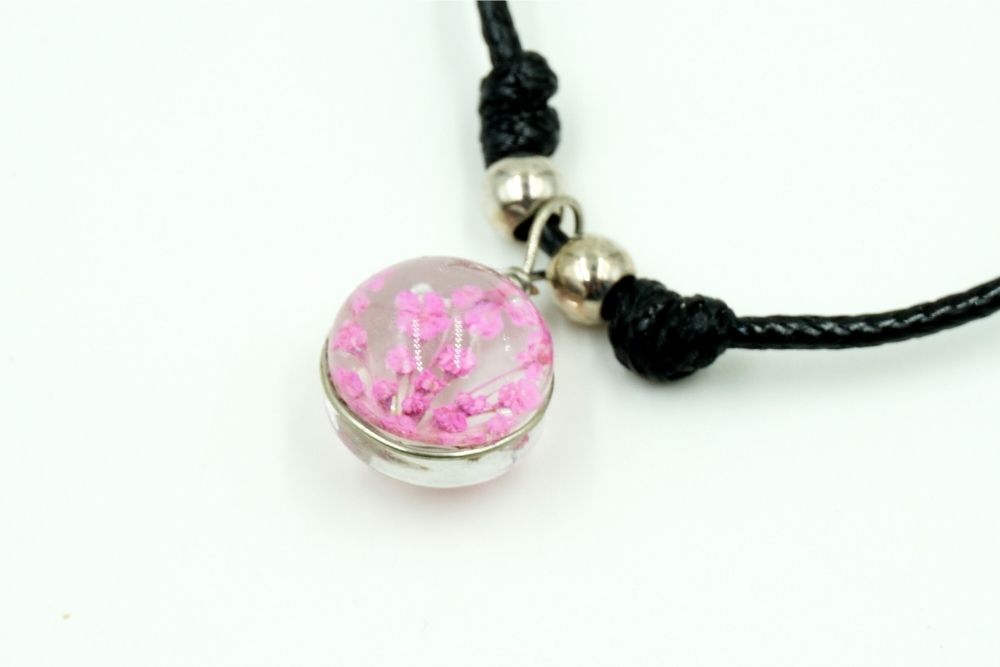
If you are going to be making a necklace or a bracelet you will then need to add a metal loop to the resin. For necklaces, you will also need to add a chain so that it becomes wearable.