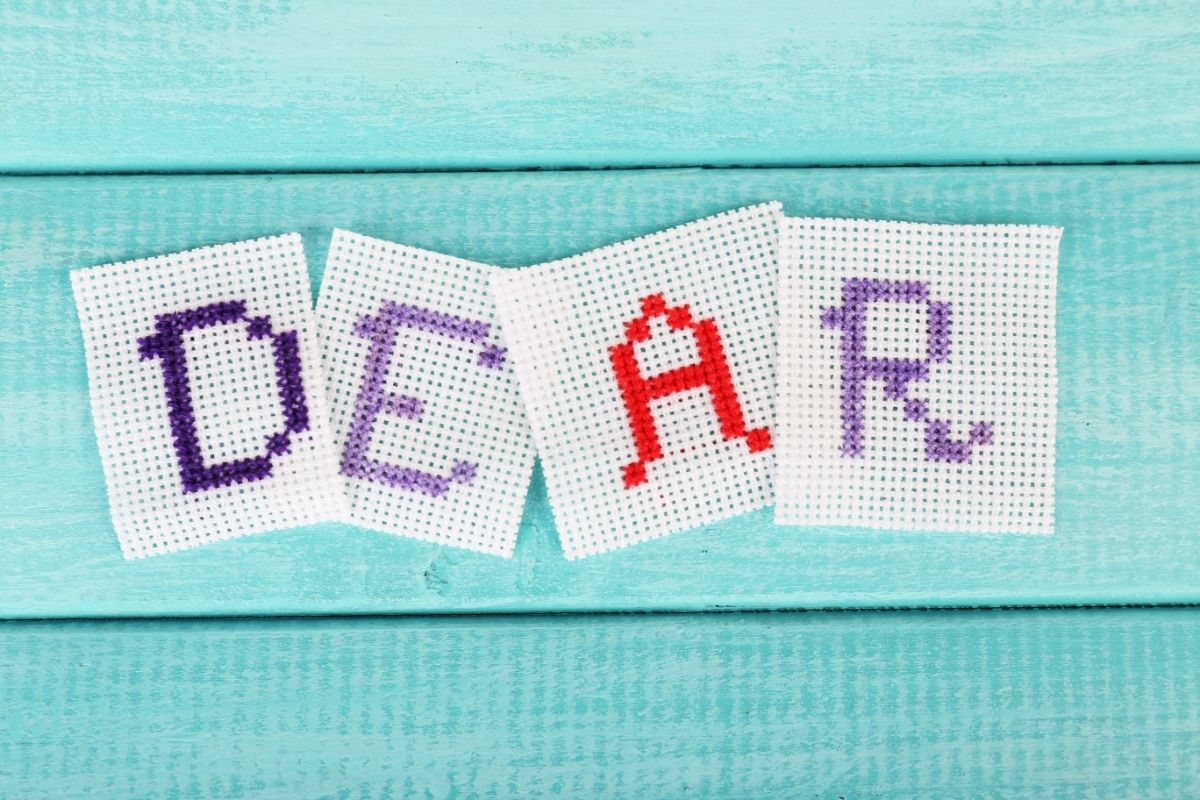
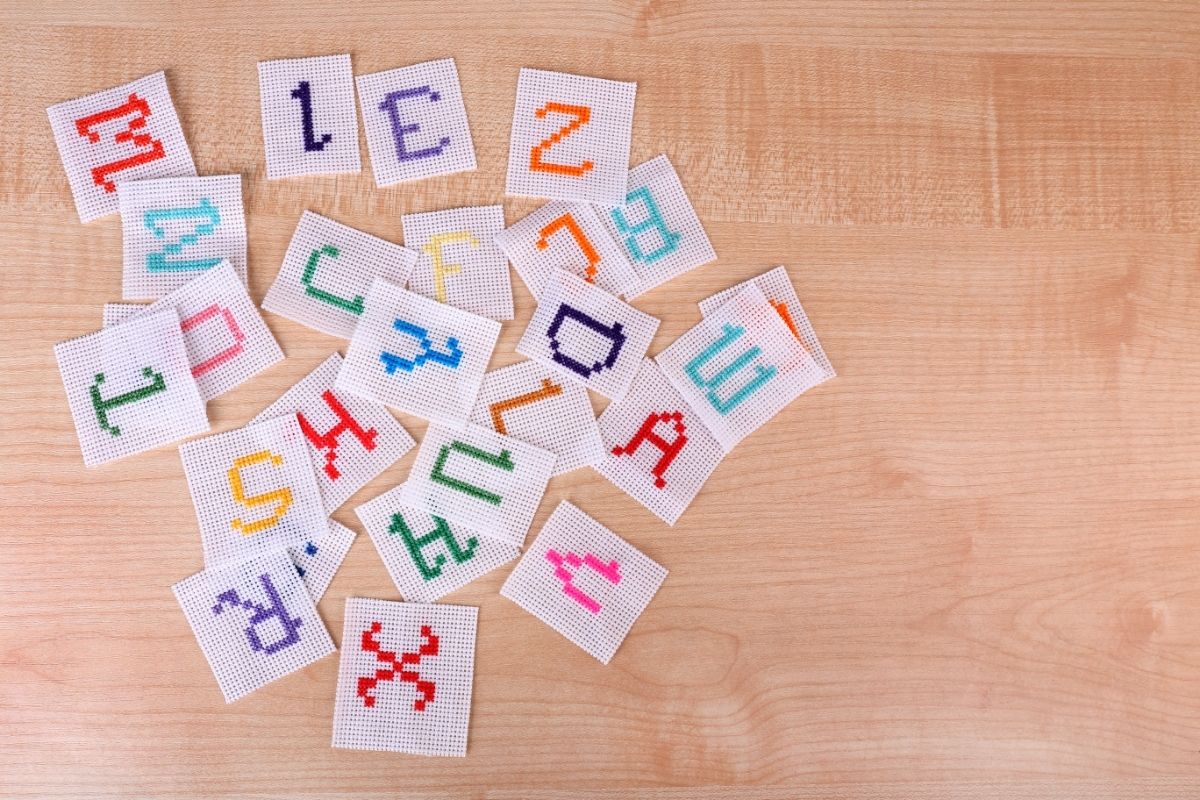
Hello to all the lovers of embroidery reading this article. We hope you are having a lovely day, and we are so excited to share our knowledge on how to embroider letters.
Embroidering is an art that has been around for centuries, but it’s not something that everyone can do. It requires patience, skill, and practice. If you want to learn more about embroidery, there are some things you need to know first.
Embroidery is one of those arts that require patience. You have to be able to sit still for hours at a time while your needle goes through the fabric. This means that if you don’t like sitting in front of a TV or computer screen, then embroidery isn’t going to be for you.
If you’re interested in learning how to embroider letters and would like to start practicing right away, you have come to the right place.

What Tools Will You Need?
Before we get started you will need to make sure that you have the appropriate tools. An artist cannot paint a portrait without his paints, and you cannot embroider letters without the proper equipment either.
Below are the items that you will need to get started:
- Needles – You will need an embroidery needle. They tend to have longer eyes, this is so that thicker thread can easily fit through.
- Thread – You will need to select your embroidery thread. You may prefer using a six-strand thread or something with fewer threads for a more streamlined and fine look.
- Hoop – Embroidery is usually done using a hoop, this is so that the fabric is taut and easier to embroider on. A hoop also prevents puckering and wrinkles on the fabric which can easily ruin your work if you are not careful.
Now that you know what you need to get started, we can begin looking at how you can transfer your lettering onto the fabric. So, let’s take a look.
How Do You Transfer Embroidery Letters?
One of the best places to find fun and exciting lettering to copy for your embroidery can be found on different computer programs. You can use these same programs to print out your chosen fonts as well which will make your life a lot easier.
Below are some of our favorite programs to use for transferring lettering.
- Excel
- Google Docs
- Word
- Illustrator
- Photoshop
- Word Perfect
- WPS Office
These programs work really well because there are a variety of fonts you can pick from, and you can easily adjust the size before you print them off or transfer them.
Once you have your lettering decided, and you know how big you want it you can transfer it onto the fabric.
These are a few ways you can do that:
- Transfers – You can use an iron-on transfer to get your lettering on the fabric of your choice. The issue with this method is that a lot of these transfers are permanent which may not be something you want.
- Light Box – If you have a light box or even a window you can easily use either to transfer your images onto your fabric. Simply trace the lettering, and you will be ready to go.
- Freehand – One of the more simple ways to transfer lettering is to freehand it onto the fabric. All you need is a wash-out pen, a steady hand, and an eye for detail, and you can easily use this method.
No matter which method you choose, you will find something that works for you. Next, we are going to look at what you should consider when you are selecting a font for your embroidery.
Consider The Font
Selecting the font for your embroidered lettering is personal.
You should pick something that you like and also something that suits your experience level. If this is your first try at embroidering lettering, or you have never tried any of the stitches we are going to explore you may want a simple font you can practice with.
But for the most part, this is largely your own decision, and you should pick something that makes you happy.
- Cursive Writing – Cursive script can look beautiful when it is embroidered. This style of writing tends to be excellent with stitches like the back stitch and the chain stitch. Just make sure that you pick a font that suits your experience level, rather than pick something simple, so you can learn the process. But in the end, it is more important to do something that you like. So, have fun with your choices.
- Block Writing – If you decide that you like block lettering you may want to consider the type of lettering. For example, a lot of thicker block prints will need to be filled and outlined. If this is not something that you want to make sure that your font does not require filling in and also make sure that there are no unnecessary flourishes that might complicate the process. This is especially true if you are a beginner.
When you are picking your font just make sure that it is the right size. If your writing is quite small you will need a very simple font. But, if the writing is large you can opt for more intricate lettering.
Some Simple Stitches To Learn

At this point, you should have your equipment, and you should have chosen a font. Now we are going to show you some stitches you can use for embroidering your lettering.
The Back Stitch
If you want a simple stitch that can be used to quickly online letters the back stitch will be perfect for you. It can be used to fill in the centers of your chosen font, or it can be used to outline more intricate lettering.
The Stem Stitch
This stitch can easily be used to embroider the outline of your lettering. You can leave it like that, or you can use this stitch to fill the letters entirely. Either way, it ends up looking stunning.
The Running Stitch
This is a fantastic stitch for beginners. The running stitch is very simple to do and looks particularly good on larger letters. If you need something easy to do, try the running stitch.
Chain Stitch
The chain stitch is a very popular stitch for lettering. It is particularly good for following the intricate curve of cursive or just curvy lettering.
You get variations of this stitch such as the double chain stitch or the braided chain stitch, both of which can be used to add thickness and dimension to your embroidered lettering.
Final Thoughts
There are many ways to embroider letters. There are many fonts available. And there are many styles of stitching.
From the stem stitch which we have discussed here to the split stitch which we have not mentioned in this article. All of these things come together to create unique pieces of art.
So, go ahead and experiment with your options. All it takes is a single stitch to start. So, start the process and have fun.