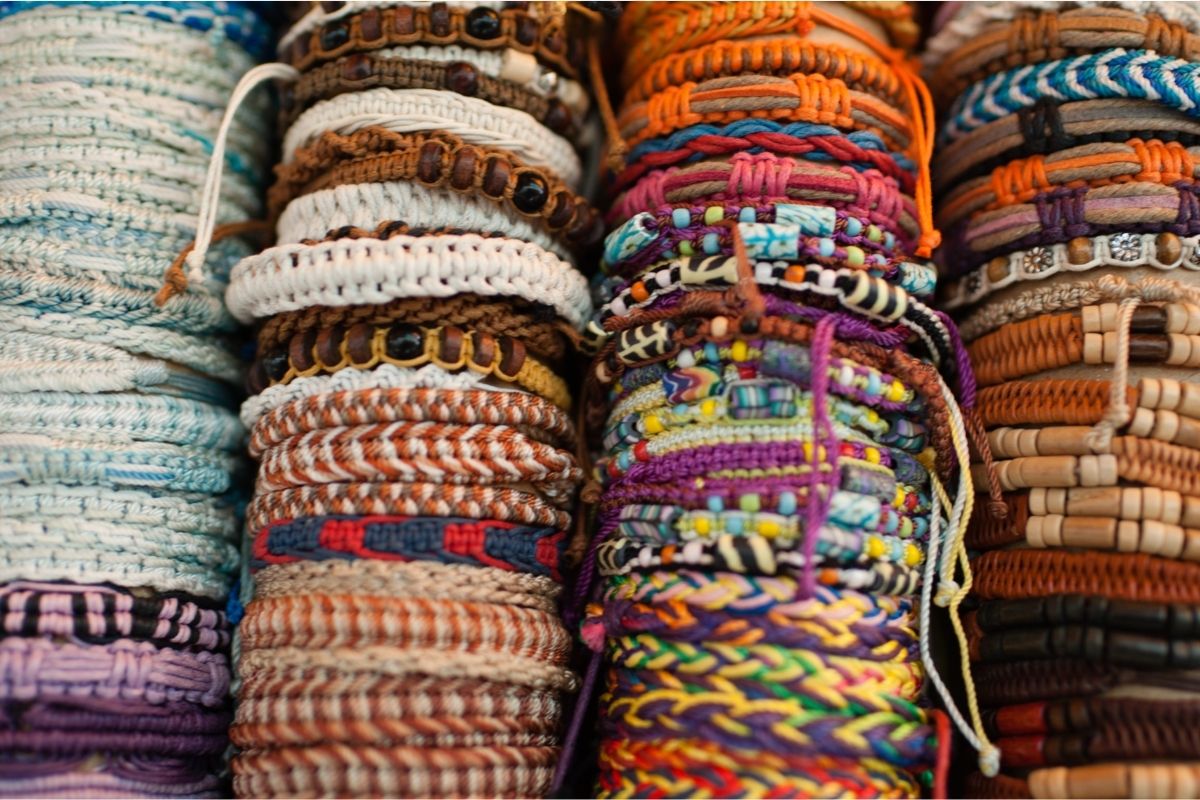
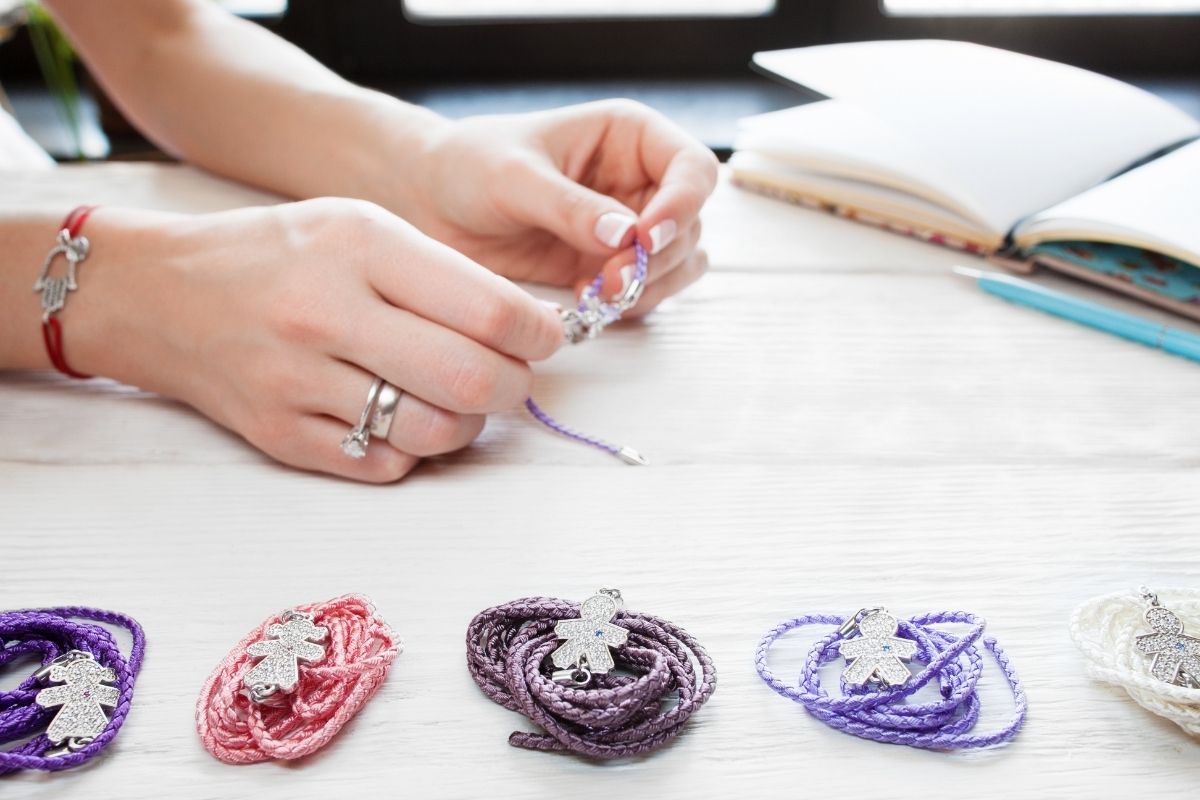
Handmade crafts are a great way to express your creativity and learn more about DIY arts and crafts in general, but they are also an excellent way to create unique and thoughtful gifts for all sorts of occasions.
Handmade jewelry is a particularly popular gift option as it is a low-cost alternative that can be equally pretty in comparison to regular jewelry, but with various additional benefits.
These include having that personal touch and that element of thought and care due to being made by hand.
Handmade bracelets are a simple piece of handmade jewelry that is a perfect way to start if you are new to the crafting scene due to their relative simplicity when it comes to making them and the wide range of customization that is available in terms of the style of bracelet you can make and how you can decorate them.

You can even create a friendship bracelet with a custom name on it!
There is so much that can be done when it comes to making an adjustable bracelet. With this in mind, we are going to be taking a look at how to go about making your own adjustable bracelet! Let’s get started.
Bracelet Materials
The materials needed to make an adjustable bracelet are fairly basic, such as plastic beads, a clasp, and some string or thread.
A craft store or an online retailer is your best bet for obtaining these items, particularly if you want a wide range of different kinds of beads and threads.
You can also check any local bead or sewing stores for supplies. Remember to stock up on these materials if you are planning on making more than one bracelet or a pair of friendship bracelets.
Making Your Bracelet
Step 1: Bead Sizes
To begin, you’ll need to determine which size of beads you want to use for your project.
It depends on what kind of bracelet design you want to make. You can use any size of beads for necklaces, small, medium, large, or extra-large.
Some beads intended for bracelet making tend to be a bit bigger than the ones used to create necklaces or other kinds of jewelry (but this is not always the case). Larger beads will be more expensive than smaller ones because they are thicker and weigh more.
On the other hand, small-sized beads are usually cheaper, and they’re easier to work with because of their size and lightness. For bracelets, smaller-sized beads can be ideal. However, they aren’t always suitable for necklaces or earrings.
Step 2: Choosing Your Beads
When you know which size of beads you want to use, then it’s time to decide which color you want to use for them. You should choose the color of your beads according to the theme of your bracelet.
For instance, if you’re making a set of bracelets for a baby shower, then you might want to use pink or blue beads.
However, if you’re giving a bracelet as a gift to someone who loves purple, then you may want to pick that as your color! There are no hard-and-fast rules for the colors of beads you select, so feel free to play around until you find something that looks good together.
Step 3: Assembling Your Bracelet
Once you’ve decided on your beads, it’s now time to string them together into a strand.
To do this, just tie the ends of the strands together using some thread or rope. After you’ve finished knotting the strings together, you’ll need to cut off any extra thread or string. To make the bracelet adjustable, a sliding knot is an excellent way to do so.
Step 4: Making A Sliding Knot
Sliding knots are an easy way to adjust the length of a bracelet. To lengthen or shorten a bracelet, just slide the knot along the length of the string. You can either make one loop at the end of a piece of string, or you can double up on the loops.
To create a sliding knot, the first thing you need to do is tie an overhand knot. This is done by tying a knot at one end of a piece of string and then pulling it tight so that it wraps around itself twice.
Next, take another piece of string, wrap it around the first one three times, and then tie them together.
After completing this, pull the two strings through each other. Hold the loose end of the string against the first piece of the string while pulling the rest through.
The result is a loop where one piece of the string goes through another piece of string. Once you’ve finished assembling the bracelet and tied your sliding knot, you may decorate it further by adding charms and other decorations.
Step 5: Add Decorations

Now that you’ve assembled your beads, it’s time to add a bit of decoration! This is a great way to make your bracelet stand out or embellish it, especially if you are planning on gifting the bracelet. Some common additions include charms, clasps, and even buttons.
Charm bracelets are small pieces of metal or wood that are attached to the ends of your wristbands. You can attach charms by wrapping the ends of your bracelet around with a clasp.
Clasps come in different sizes and shapes to suit a wide range of charms.
They come in a wide range of designs, including ones that look like keys or locks. Buttons are another way to add decoration to your bracelet. They are usually made of metal, plastic, or leather, and can be used as decorative accents, or to close up holes.
Step 6: Attach Your Bracelet!
After you’ve finished decorating the bracelet, it’s now ready to be attached to your wrist. With a clasp, you can connect the bracelet, but you can also simply adjust the sliding knots to loosen or tighten it.
If you plan on keeping your bracelet on for most of the day, wear it loosely enough so that you can move it around easily.
There are many ways to attach your bracelet to your wrist.
You can wrap it around your wrist several times before attaching it to itself. Another way to attach the bracelets is to loop one end of each bracelet through the other and then pull them together tightly.
No matter which method you use to tie it, avoid putting too much pressure on your wrist while doing this. If you’re worried about hurting yourself, ask someone to help you.
Gifting Your Bracelet
When making and gifting a bracelet for someone else, there are various things you should keep in your mind. You should first make sure that the person who receives the bracelet knows how to properly care for it!
For example, if a child is receiving a gift, you should tell them how to take care of it properly. If possible, you should provide the recipient with instructions on how to adjust their bracelet size so that it fits better, too.
Final Thoughts
You should have more of an idea as to how to go about creating your own adjustable bracelet now, thanks to our useful guide!
Be creative when making your bracelet, and you are sure to be creating all sorts of bracelets in no time.