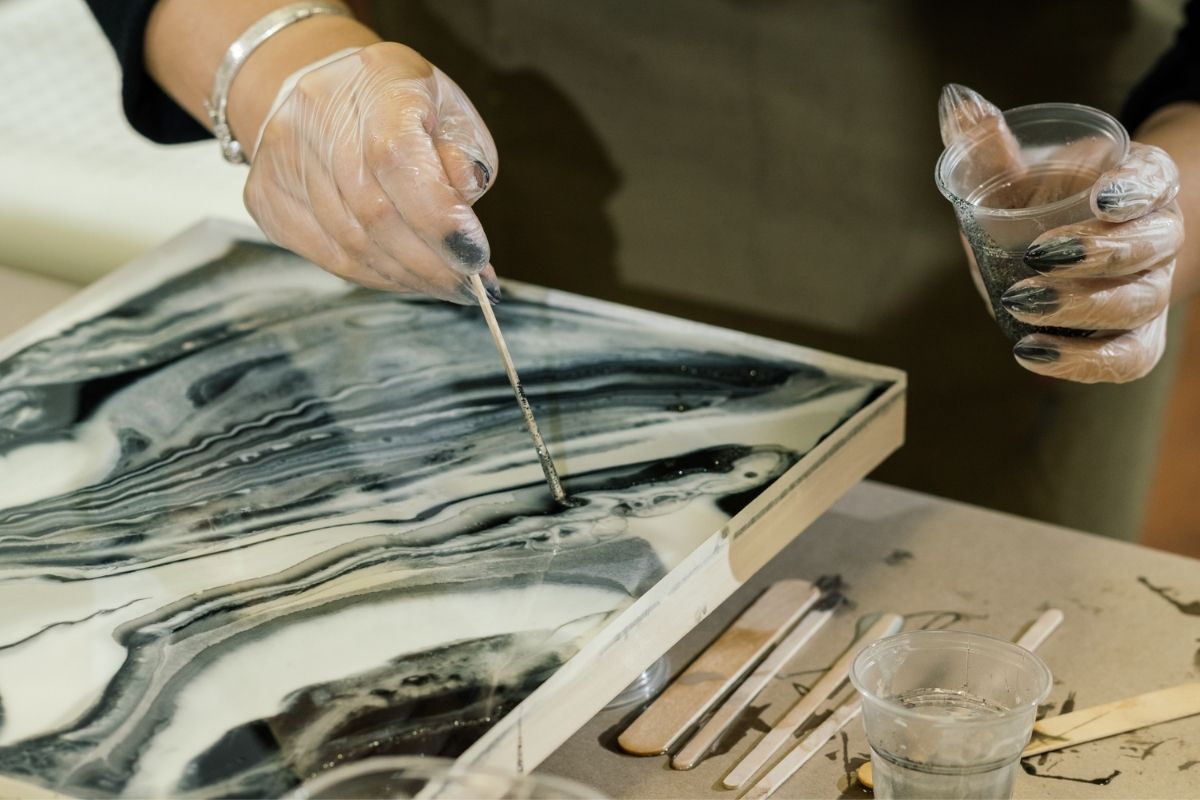
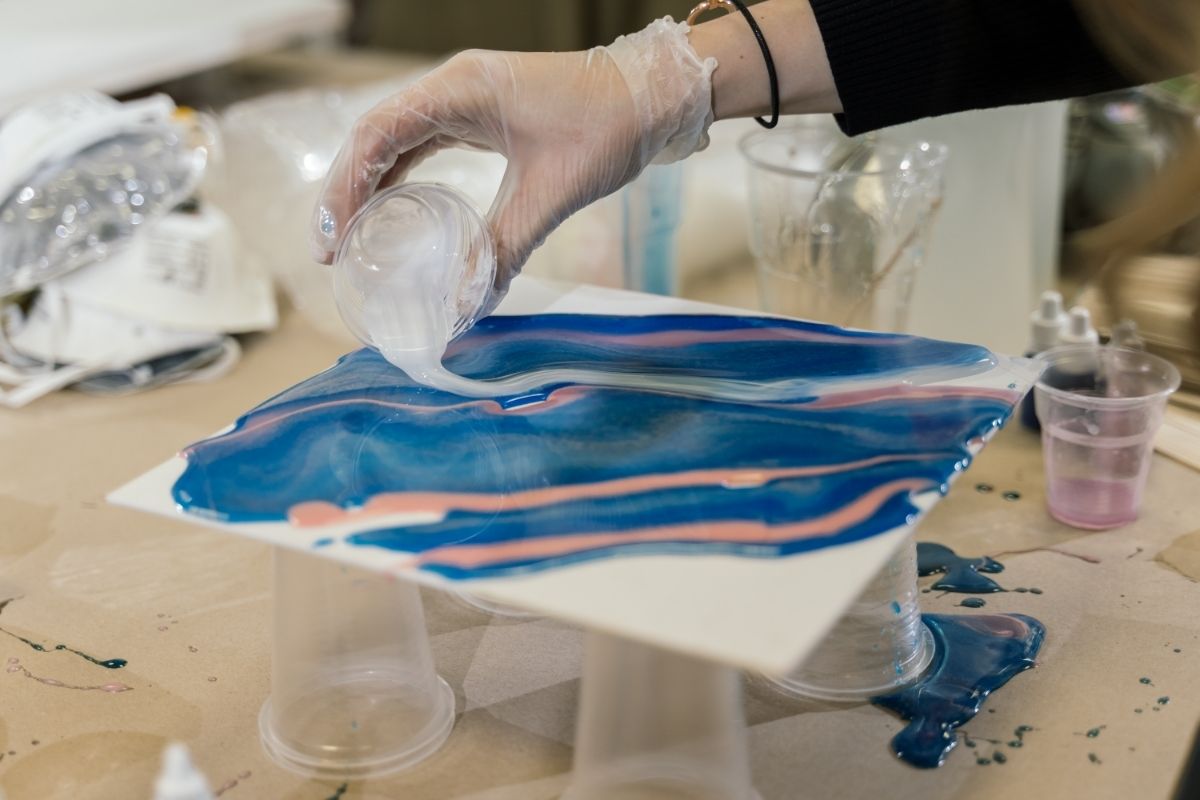
In recent years, resin art has become a popular way of creating jewelry, and other decorative items. The reason behind this is that the creative process is simple, but the results are impressive!
Resin art is a great hobby that allows you to express yourself creatively while making beautiful pieces of art. Providing you have the materials needed for the process, is also a fairly inexpensive hobby.
You can create your own designs, or use pre-made templates to make your own unique piece of art.
It may seem complicated at first glance, but trust us when we say that it is way easier to create your own art once you get the hang of it.
Once you get started, you will be hooked!

This article will guide you through the basics of resin art so that you can get started on your first project. We’ll cover everything from choosing the right tools for the job, to how to mix your colors and even some tips on where to find inspiration.
So, let’s start with the basics…
What Is Resin?
Resin is a material used in many different arts and crafts projects. It comes in various forms including liquid, gel, paste, powder, and more. When mixed together, these form an adhesive substance that can then be molded into any shape.
This makes resin ideal for creating sculptures, figurines, and jewelry.
As a beginner, you may find it easiest to work with epoxy resin.
Epoxy resin is easy to mold and hardens quickly. The initial product usually comes in the form of two separate containers: one containing the resin, and another containing the hardener.
Once mixed together, they begin to cure within seconds. The mixture will need to be left alone until it cures completely before you can remove it from its mold.
The end result will resemble a material similar to plastic.
When working with resin, you must remember to wear protective gloves, as well as eye protection.
If you do not, you could end up with painful blisters on your hands and fingers. Also, avoid breathing in the fumes produced by the curing process. These fumes are very toxic, so if you feel unwell, leave immediately.
The best thing about using resin is that it dries clear, unlike clay or wax. Colors can be added to give your finished piece a desired look. For example, you can add glitter to make it sparkle, or add drops of color to give the piece depth.
You can buy resin in most craft stores, or online. However, if you want to make sure you get the best quality, try buying it directly from a manufacturer. They often offer discounts and provide extra information on their products.
There are several other types of resin, but in this article, we are going to be focusing on how to create art using epoxy resin.
Choosing Your Tools
Before you begin working with resin, you will need to choose what kind of tools you will be using.
There are several options available, each suited to specific tasks. For example, you might use a syringe to pour the resin into molds.
Or, perhaps you would prefer to use a brush to apply resin to your model. If you are creating a simple item using a mold, however, you may find it easiest to simply pour the resin into the mold itself.
If you are new to resin, you should consider starting with a basic set of tools. However, if you already know how to sculpt, you may wish to invest in additional tools.
A good starter kit for creating epoxy resin art includes:
- A mixing cup
- A spatula
- Molds
- Protective gloves
- Eye protection
How To Create Resin Art

As we said previously, today we are going to be focusing on how to create a simple sculpture using resin. Depending on the mold you will be using, this sculpture could be utilized to create jewelry, a coaster, or even a small statue.
Before you begin, you will need to choose a surface upon which to place your mold. This area should be flat, like a bumpy or raised surface may cause the resin to become distorted in the mold during the curing process.
Once you have selected your base, you will need to prepare it by cleaning it thoroughly. It would be a good idea to place a protective sheet over your workspace, as resin tends to stick to surfaces.
Then, once you have gathered your tools and products, you will be able to start the creation process.
Step 1: Mix The Resin
Epoxy resin will come in two bottles: one containing hardener, and another containing resin.
In a mixing cup, combine the two liquids by following the instructions on the packaging. As a rule, the materials should be mixed at a 2:1 ratio, meaning that for every 100ml of resin, you should mix 50ml of hardener.
Mixing these two components together ensures that they will react properly when combined. If you accidentally put too much hardener in the mixture, it will take longer to cure. However, if you put too little hardener in the mixture (or no hardener at all), the resin will not harden.
You will need to thoroughly stir the two liquids together to ensure they are well-mixed. Once the liquid is completely combined, you can add any additives you may require, such as coloring and/or glitter.
When the two substances are mixed, the mixture will appear cloudy. You do not need to worry about this, as this is normal.
To ensure that the resin has been mixed correctly, check the consistency of the mixture by placing some drops of the liquid on a piece of paper. The mixture should look like thick syrup, and not run off the paper.
Step 2: Pour The Resin Into Your Molds
The next step will involve pouring the resin into the mold.
To do so, you will first need to make sure your mold is completely clean. You can clean it with soap and water, but it’s best to use an alcohol wipe.
Next, carefully pour the resin into the mold until it reaches the top edge of the mold.
At this point, you may notice that the resin is beginning to form bubbles. These bubbles are harmless and should disappear after the resin cures.
Once the mold has been filled, leave it to rest on a flat, safe surface to allow the mixture to harden.
Step 3: Allow The Resin To Cure
This stage is easy: all you need to do is take a step back and let the mixture cure on its own.
Again, you should read the instructions on the package regarding how long the resin needs to cure before being used. Your best bet is to allow it to cure overnight, as it usually takes a good couple of hours.
Do not touch the resin while it is hardening, as this will leave marks on the finished product!
You will be able to tell when the resin has completely set, as it will easily pop out of the mold without resistance.
At this point, you can remove the resin from the mold and begin working on your project. If the mixture still feels sticky or tacky, wait a little longer before removing it from the mold.
It is important to take into consideration that the environment where the resin is stored will have an impact on how quickly it sets.
For example, if the resin is exposed to direct sunlight, it will take longer than usual to dry up. In addition, if the resin is left in a warm room, it will also take longer to dry up.
Step 4: Use The Resin To Create Art
The final step involves using the hardened resin to create something beautiful.
Simply remove the resin from the mold, and then remove any excess material. Use an old toothbrush to gently scrub away the hardened resin. Don’t use too much force, or you may damage the mold, creating scratches and rough areas.
Once this is done, you are free to start decorating your creation however you wish!
Final Thoughts
Resins are fun to play around with, and they offer many different possibilities for making unique pieces of artwork. They are relatively simple to work with, and there are no special skills required to get started.
We recommend that beginners start by playing around with epoxy resin, as it is one of the easiest resins to work with. It comes in a wide variety of colors, which makes it perfect for experimenting with different color schemes.
Once you are comfortable creating this form of resin art, you can move on to using more advanced resins such as polyurethane, silicone, acrylics, and even metal.
Each resin offers a different experience, and each requires slightly different techniques to master.
We hope you found this article useful, and you enjoy creating your own resin art!