Crocheting should be a calming, relaxing, and rewarding activity – but only when the crochet actually works in your favor.
In some cases, while you might aim to crochet a flower or a sweater, you end up with a large mass of yarn and sweat on your brow.
Whether you’re a beginner or an experienced crocheter and you’re looking to make the perfect crochet rose, you’re in luck, because it’s surprisingly not too hard to make. All you need is red yarn, a crochet hook, and a lot of patience.
If you’re wanting to make a perfect crochet rose to give away as a gift – or to keep for yourself – here is the ultimate guide on how to crochet a rose!
How to crochet a rose: A step-by-step guide
Here is our step-by-step guide for making a crochet rose! It should take between 20-30 minutes to crochet a rose.
You will need:
- Size 4 worsted weight acrylic yarn in your chosen color (red, white, or pink are the classic rose colors). This is the ideal type of yarn as you will be able to see the stitches.
- Tapestry needle
- Scissors
- Size I or H crochet hook
Optional extras:
- Dark green floral tape
- Floral wire (18 gauge)
- Faux leaves
- Green chenille stems
Here is a run down of the abbreviations and crocheting terms that will be helpful for reference:
- Single crochet (sc)
- Double crochet (dc)
- Skip (sk)
- Chain (ch)
- 5 double crochet shell stitch (shell stitch)
- Slip stitch (slst)
Step 1: First row
To make your first row of the rose, make a slip knot and chain 40. (ch 40). This is just a general guideline for the first row, as the length of this row will determine the size of the rose.
For smaller or larger roses, you can adjust this length accordingly – though we find that 40 is an ideal length for a standard rose. For larger roses, aim for ch 56.
Step 2: Second row
Here’s where we start to create the base for the petals! To do this, you need to make V stitches for every other stitch on the first row. Here are the crochet abbreviations to follow:
- Turn
- Sk 3
- (dc, ch 1, sk 1 ch, dc, ch 1) and repeat until the second to last stitch
- Dc
- Ch 1
The point of the second row is that the extra chains between the double crochets begin to “wrinkle” up the yarn, which will allow the yarn to easily roll into its rose formation later.
To beginners who are confused by this, don’t worry. Once you understand how to double crochet, skip stitches, and chain, the V stitch is surprisingly easy.
The beauty of worsted weight yarn is that if you mess up, nobody will notice as it is fairly thick.
Step 3: Third row
Step three is all about creating the petals. This is the most time-consuming step, but the results are worth it! To complete this step, you will have to make shell stitches. Here are the crochet abbreviations to follow:
- Turn
- (Slst, 5 dc shell stitch) and repeat until the second to last stitch
- Slst
- Finish off with around 20 inches of yarn left
Step 4: Sewing the rose
The reason you have to leave around 20” of yarn after finishing off the crochet is to sew the rose together.
Sure, you could fiddle around with a hot glue gun – but if you’re looking for quality, then sewing the rose together will provide the most seamless product. Plus, sewing will ensure that the rose definitely won’t unravel.
To sew the rose, start to roll the rose up from the back side of the row or chains. Make sure all the chains align, otherwise you’ll end up with a wonky rose!
Once you have rolled the rose into its position, take a tapestry needle to sew all the chains together. If you have a larger rose, then some people like to sew as they roll it up.
Once finished, make a double knot and pull the end through. Trim off the rest of the yarn, and you’ve got yourself a crochet rose!
Step 5: (Optional)
Here’s where you can get creative. If you just wanted to make a singular rose, this step is optional.
If you’re wanting to make a bunch of crochet roses, like a permanent bunch of roses that won’t die like fresh flowers, here is how to make them!
Once you have made your chosen number of roses, take a stiff floral wire and green floral tape. Make sure the wire is stiff enough to hold the roses upright.
Fit the 18-gauge wire into the base of the crochet rose (it should be shaped into a hook) and then secure it with the green tape.
After the ends of the crochet rose are hidden by the tape, attach the faux leaves with the same tape.
Alternatively, you could attempt to crochet the leaves – though this will take extra time if you’re already making a bunch of crochet roses. Green chenille sticks are also great for stabilizing the rose to the stem.
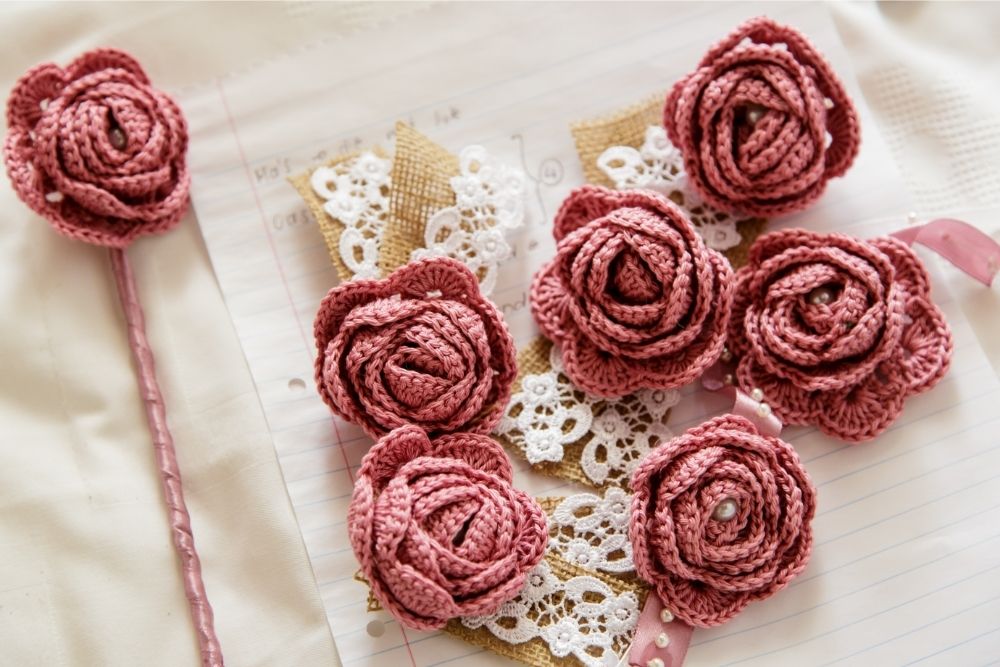
The finished product
Congratulations, you have finished your crochet rose! Hopefully this step-by-step guide has given you an idea of how surprisingly straightforward it is to make a bunch of crochet roses.
Once you have finished your rose(s), you might be thinking about what to do with it. If you haven’t thought of an intention before you started crocheting the rose, here are a few ideas of what to do with your piece of art!
- If you want to make your crochet rose into a brooch, skip Step 5 and stitch (or glue) a safety pin to the base of the rose.
- Make a bunch of crochet roses as a gift for Mother’s Day, a birthday, a leaving present, a gift to a teacher, or just to a loved one.
- Make unique crochet rose colors and sell them (gold, purple, green, or blue roses are very unique).